Configure Field Mapping
Configure field mapping to define how QMetry reads values from an XML automation result file and populates the corresponding QMetry fields during import.
About Field Mapping
A custom automation template maps the elements and attributes in your XML result file to QMetry fields such as test case summary, execution status, and execution time. QMetry applies these mappings each time you import a result file that uses the template, so results from any XML-based automation framework populate consistently without manual editing.
Each template defines three types of settings:
Field mappings - uses expressions to map XML nodes to QMetry fields.
Status mappings - determines the execution status that QMetry assigns to each test case run.
Date and duration settings - controls how QMetry interprets time values and calculates execution duration.
Pre-requisites
Before you begin, ensure you have the XML automation result file.
To map XML fields with QMetry fields, perform the following steps:
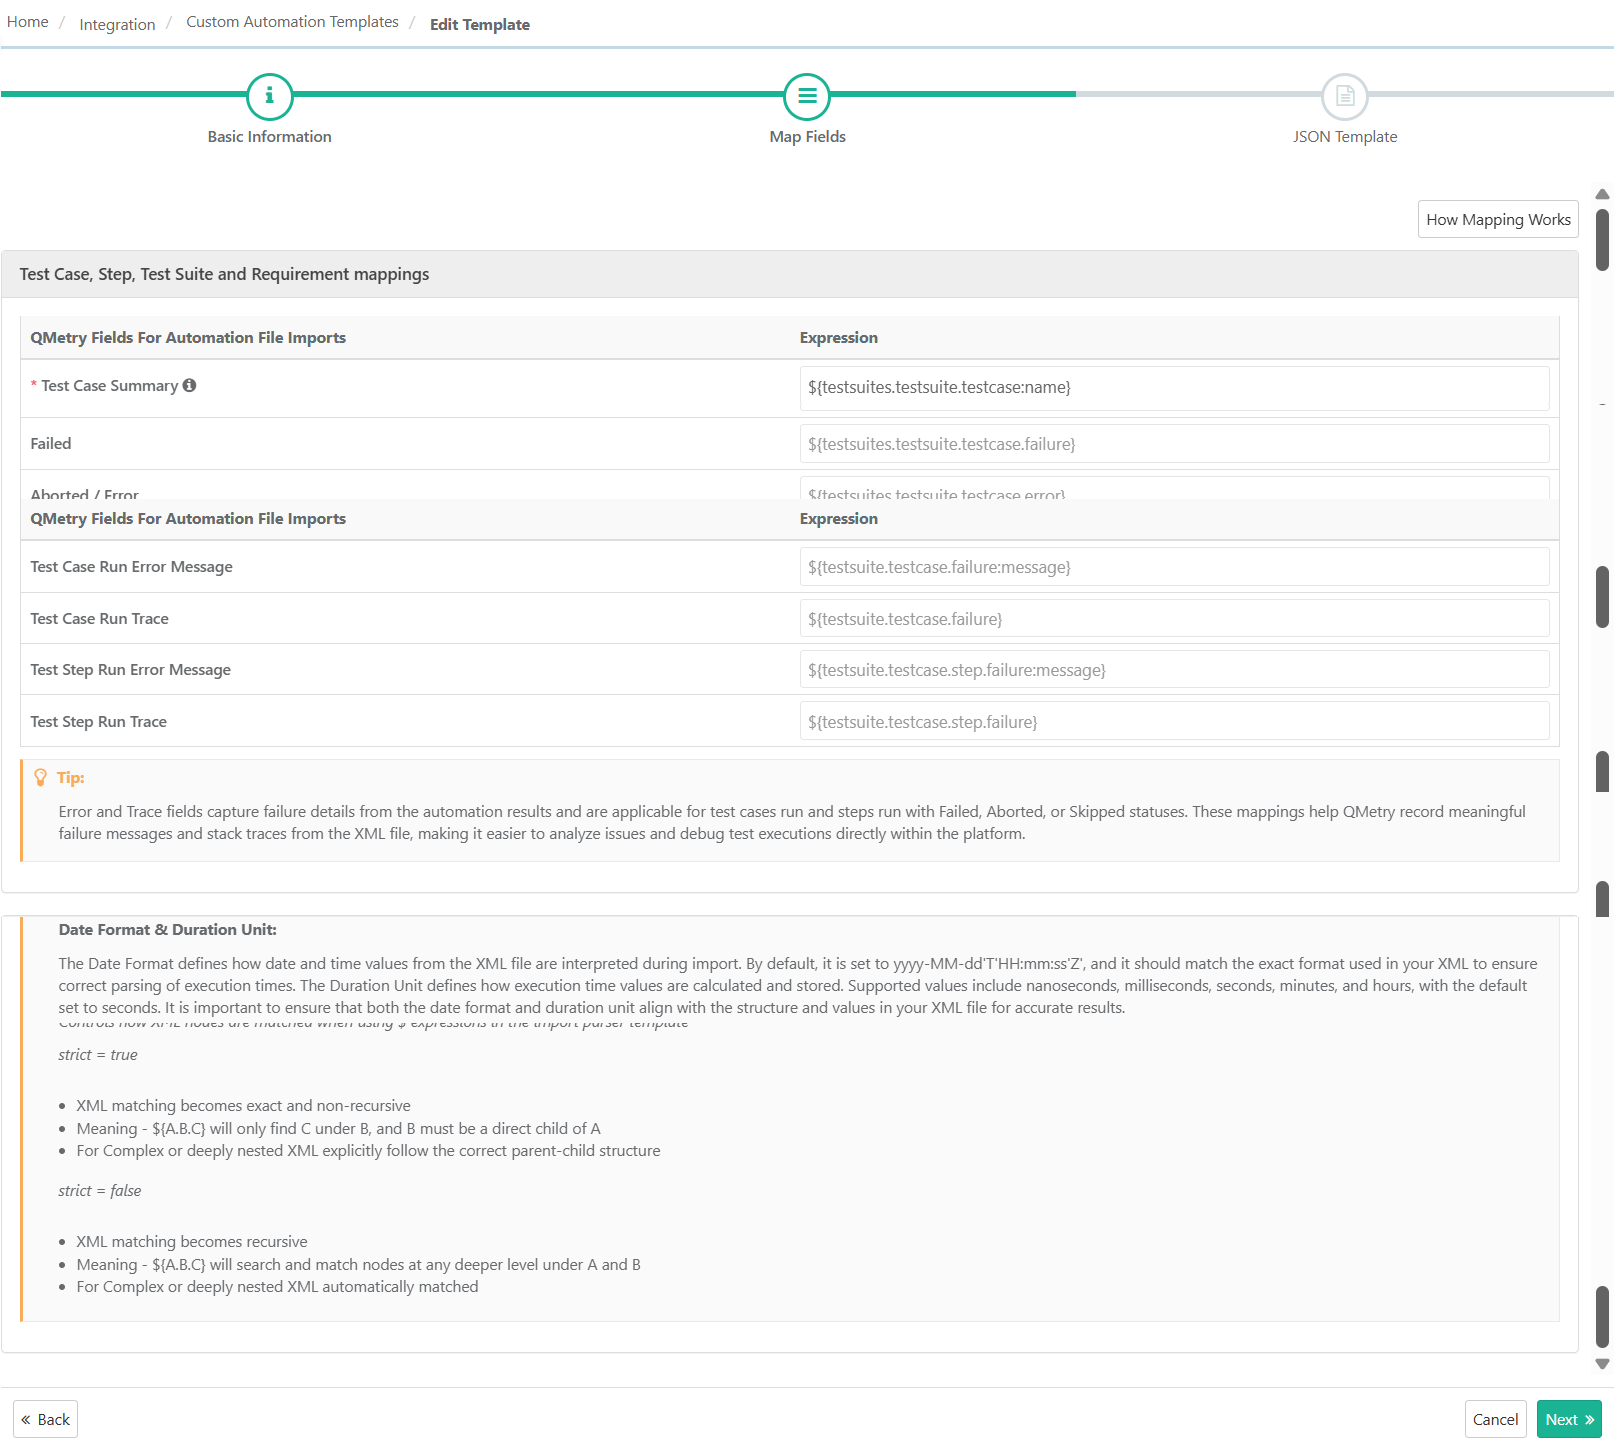
Go to Integration and select Custom Automation Template.
Select New to create a new template or Edit an existing template.
Enter Name and Description and click Next.
On the Field Mapping screen, locate the fields to map.
Enter the mapping expression for corresponding QMetry field.
Click Next to save the mapping.
Import an XML result file to verify that QMetry populates the fields correctly.
When you import an XML automation result file using this template, QMetry populates the mapped fields based on the configured mapping expressions.
Configure the Default Status
The Default Status determines the outcome when none of the configured status mappings match the imported result.
Note
Default Status is configured only for the test case run.
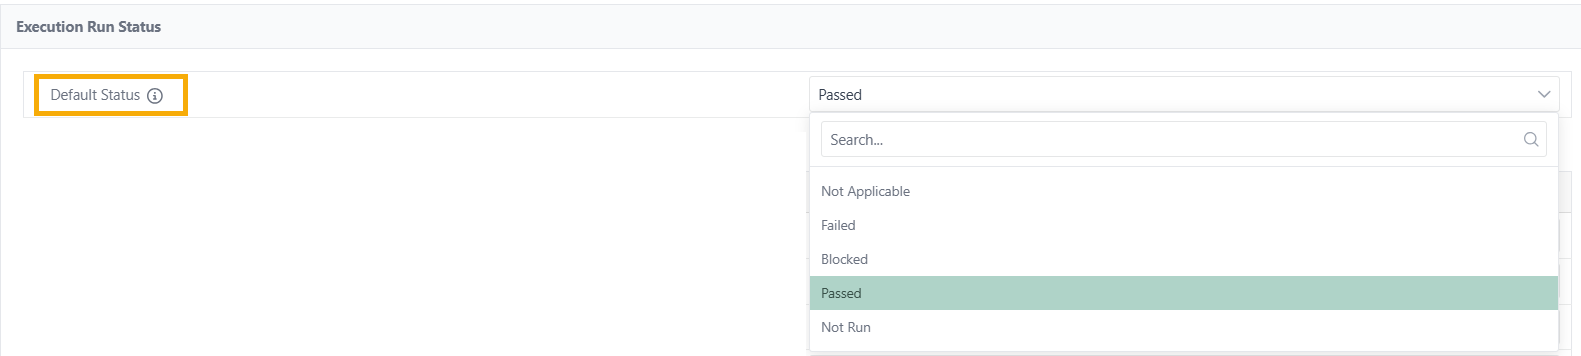 |
In the Default Status list, select one of the following values.
Setting | Result |
|---|---|
Passed | QMetry marks the execution as Passed. This is the default value. |
Failed | QMetry marks the execution as Failed. |
Blocked | QMetry marks the execution as Blocked. |
Not Run | QMetry marks the execution as Not Run. |
Not Applicable | QMetry marks the execution as Not Applicable. |
Note
Many automation frameworks, including JUnit, do not explicitly record a passed status. When you import results from these frameworks, set the Default Status to Passed so that executions without failure, error, or skipped indicators are treated as Passed.
The Default Status is saved and displayed only on the Field Mapping page. QMetry does not include this value in the exported or imported mapping JSON.
Status Mapping Behaviour
When you configure a status mapping, QMetry evaluates the mapped tag during import and assigns an execution status. QMetry evaluates the rows in order and applies the first match. When no rule matches, QMetry applies the Default Status.
Mapping | Mapped Tag | Condition | Status QMetry assigns |
|---|---|---|---|
Failure | Has a value | Value = Fail or Failed | Failed |
Any other value | Default Status | ||
Has no value | Contains a Failure, Fail, Failed, or Error tag | Failed | |
No matching tag found | Default Status | ||
Aborted / Error | Has a value | Value = Aborted or Abort, and a custom Aborted status exists | Aborted |
Value = Aborted or Abort, and no custom Aborted status exists or | Failed | ||
Value = Error | Failed | ||
Any other value | Default Status | ||
Has no value | Contains an Error Tag or Contains an Aborted tag, and no custom Aborted status exists. | Failed | |
Contains an Aborted tag, and a custom Aborted status exists | Aborted | ||
No matching tag found | Default Status | ||
Skipped | Has a value | Value is Skipped or Skip, and a custom Skipped status exists | Skipped |
Value is Skipped or Skip, and no custom Skipped status exists | Not Applicable | ||
Any other Value | Default Status | ||
Not configured | - | Default Status |
Fallback Behavior
When an exact status mapping is unavailable, QMetry applies the following fallback rules.
XML Element | Default Behavior |
|---|---|
<error> | Maps to Failed unless a custom Aborted status exists. |
<skipped> | Maps to Not Applicable unless a custom Skipped status exists. |
Configure the Date Format
The Date Format specifies how QMetry interprets date and time values during the import. The configured format must exactly match the format used in the XML file.
Note
Mapping Duration affects only duration calculations.
Available XML Data | How QMetry calculates duration |
|---|---|
Start time and end time | Duration = End Time − Start Time |
Elapsed time only | Uses the mapped elapsed time value directly |
Start time only | Uses the mapped start time as the execution start time. If no end time or elapsed time is available, duration cannot be calculated. |
<testcase
    starttime="2025-01-15T10:30:00Z"
    endtime="2025-01-15T10:30:15Z"
    elapsedtime="15"/>
Mapping
Field | Expression | Result |
|---|---|---|
Test Case Run Start Execution Time | ${testsuites.testsuite.testcase:starttime} | 2025-01-15 10:30:00 UTC |
Test Case Run End Execution Time | ${testsuites.testsuite.testcase:endtime} | 2025-01-15 10:30:15 UTC |
Test Case Run Execution Time | ${testsuites.testsuite.testcase:elapsedtime} | 15 seconds |